
Lives, Flashlight Duration, and Cartman Speed
These settings apply to Part 1: South America Elementary.
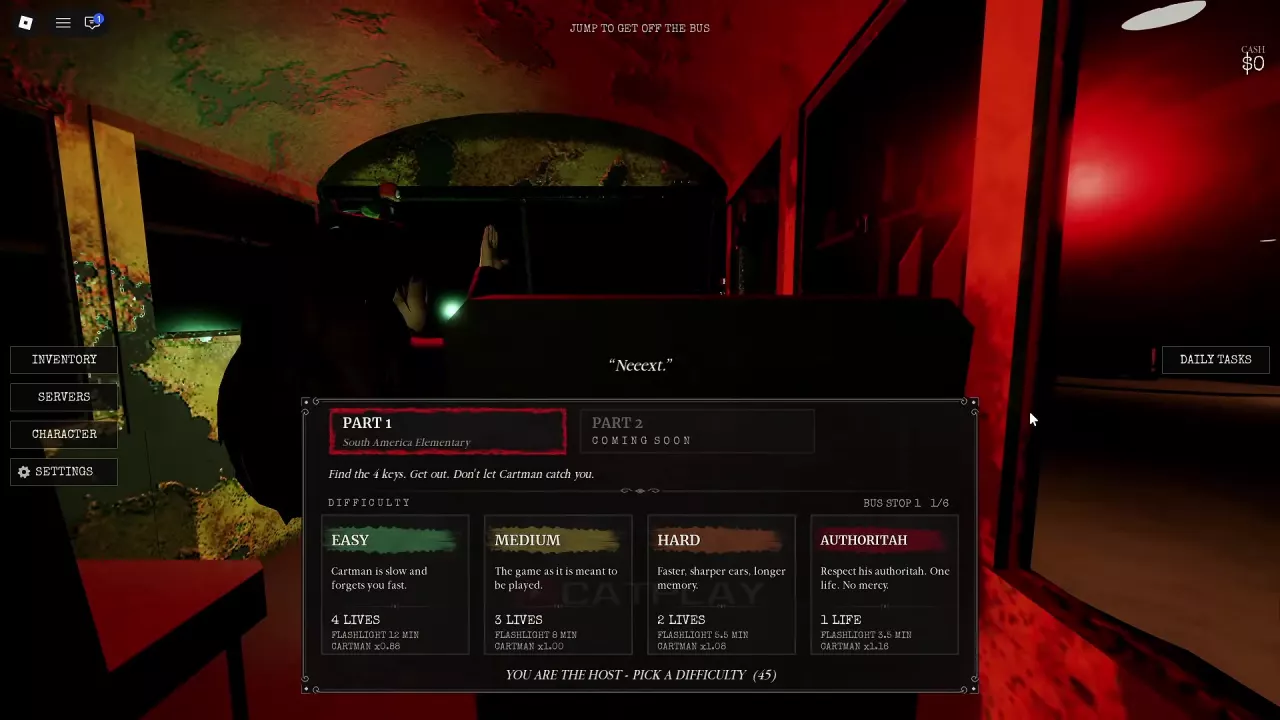
| Difficulty | Lives | Listed flashlight duration | Cartman speed |
|---|---|---|---|
| Easy | 4 | 12 minutes | ×0.88 |
| Medium | 3 | 8 minutes | ×1.00 |
| Hard | 2 | 5.5 minutes | ×1.08 |
| Authoritah | 1 | 3.5 minutes | ×1.16 |
Higher settings leave less room for mistakes and less flashlight time between power recovery. They also increase pursuit pressure through sharper hearing and longer memory; Hard’s description explicitly calls out both. The multipliers in the table apply to speed, not hearing range or memory duration.
Flashlight duration is a lighting resource, not an escape deadline. Battery replacement and hand cranking let you restore power during a longer run.
Which Difficulty Should You Choose?
- Easy — learning the school. Choose it for your first runs or when practicing an unfamiliar route. The largest life allowance, longest flashlight duration, and slowest Cartman give you more room to learn where to search and how to return to the exit.
- Medium — adding pressure to a familiar route. Move up once you understand the basic escape sequence. You retain several lives, but the shorter lighting allowance and faster pursuit make unnecessary detours more costly.
- Hard — testing reliable survival habits. Choose it when you can restore light without getting lost and pick hiding places before a chase becomes desperate. Two lives leave little room for repeated mistakes.
- Authoritah — attempting a one-life escape. Choose it when you know the objectives, return routes, and nearby retreat options well enough to act without searching for a plan mid-chase.
Before moving from Hard to Authoritah, practice any interaction or route that still regularly costs you a life. That step removes your second life, cuts listed flashlight duration from 5.5 to 3.5 minutes, and raises Cartman’s speed from ×1.08 to ×1.16.
Prepare for Authoritah
Use lower difficulties to practice the escape sequence before committing to one life. With faster pursuit and a shorter lighting allowance, prioritize these habits:
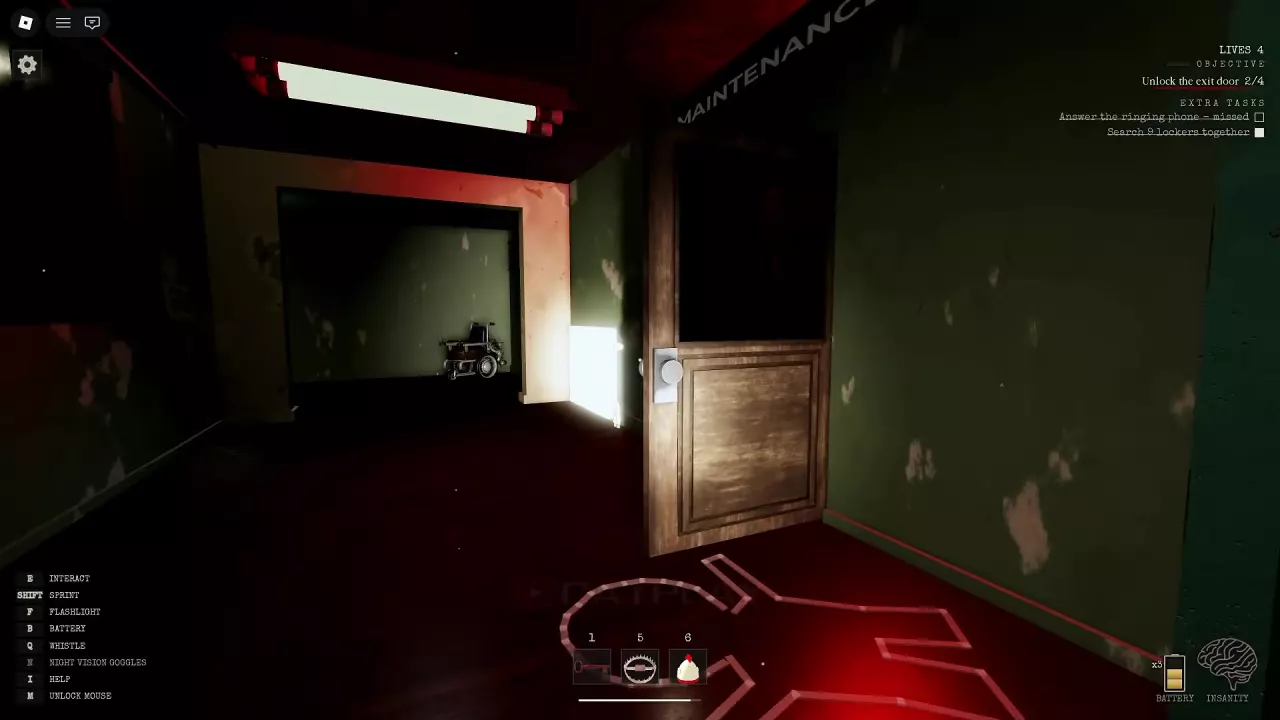
- Know your way back downstairs. From the school corridor, enter MAINTENANCE, cross the room, and take the stairs down. Look for the white glow of the EXIT DOOR. The basement and Safe Room are places Cartman cannot enter; know a reachable retreat before extending a search. Use the school landmarks guide to build familiarity with the route.
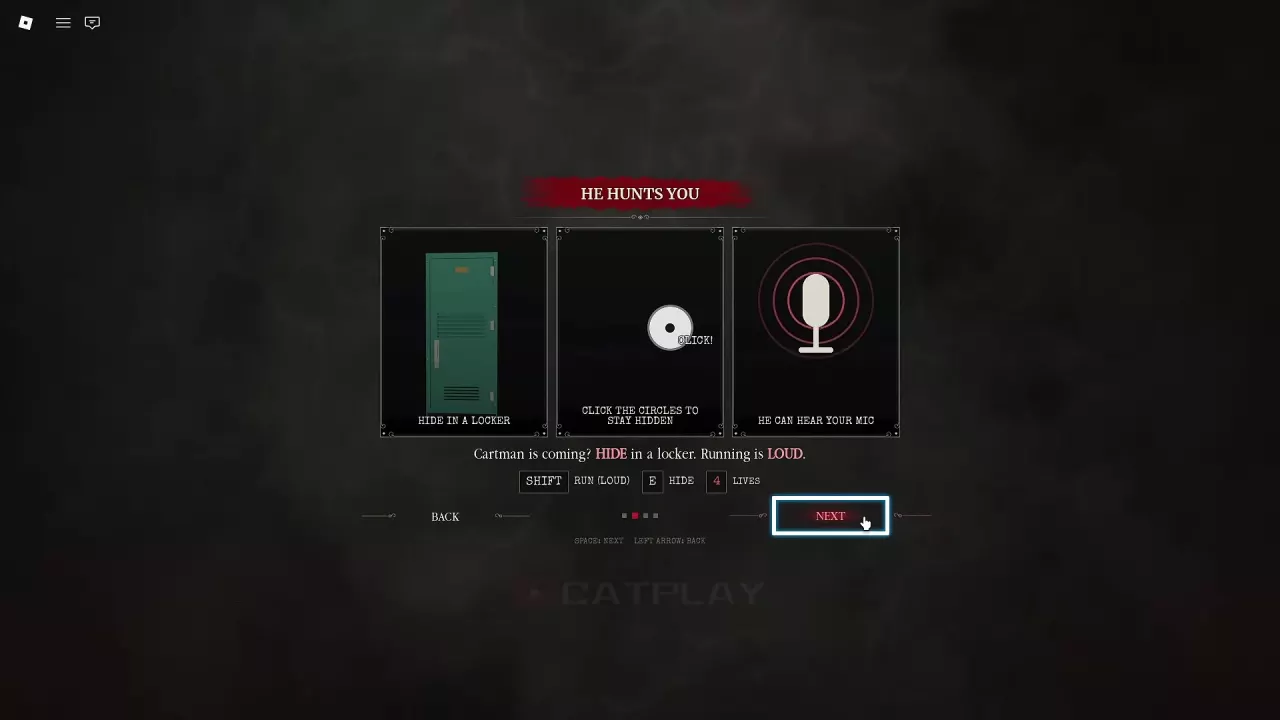
- Keep unnecessary noise down. Sprinting and stepping on glass make loud sounds, and Cartman can hear microphone audio. Limit unnecessary sprinting and voice chat near him, avoid glass, and use headphones to judge the direction of approaching sounds.
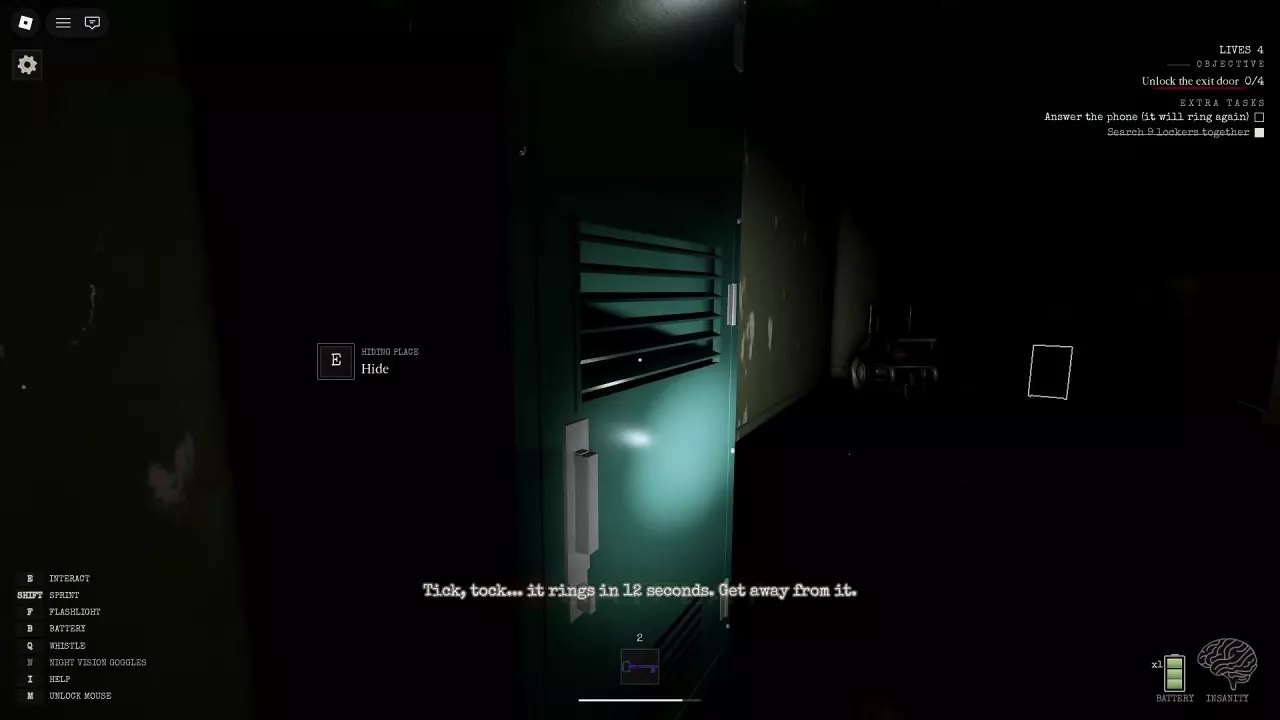
- Hide early and complete the interaction. At a locker marked HIDING PLACE, press E when Hide appears. Click the circles that appear while hiding, then watch through the door vents and wait for the pursuer to move away before leaving. Entering a locker does not instantly clear a chase. The survival guide covers hiding and escape decisions in more detail.
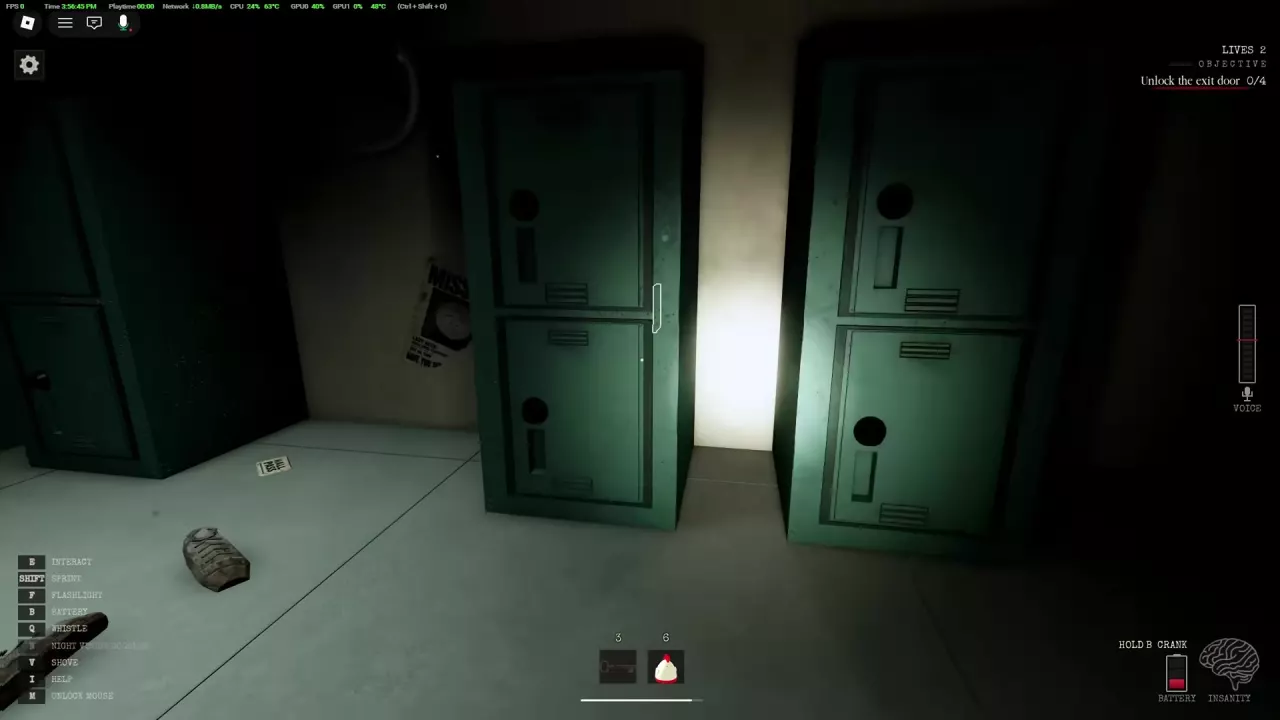
- Prepare a way to restore light. Search lockers for spare batteries. Press F to use the flashlight; when power is low and NEW BATTERY appears, press B to install a spare. When HOLD B CRANK appears, hold B to recharge. Prolonged darkness increases Insanity, so plan power recovery before a dark search becomes difficult to navigate. See the flashlight and battery guide for the full lighting routine.
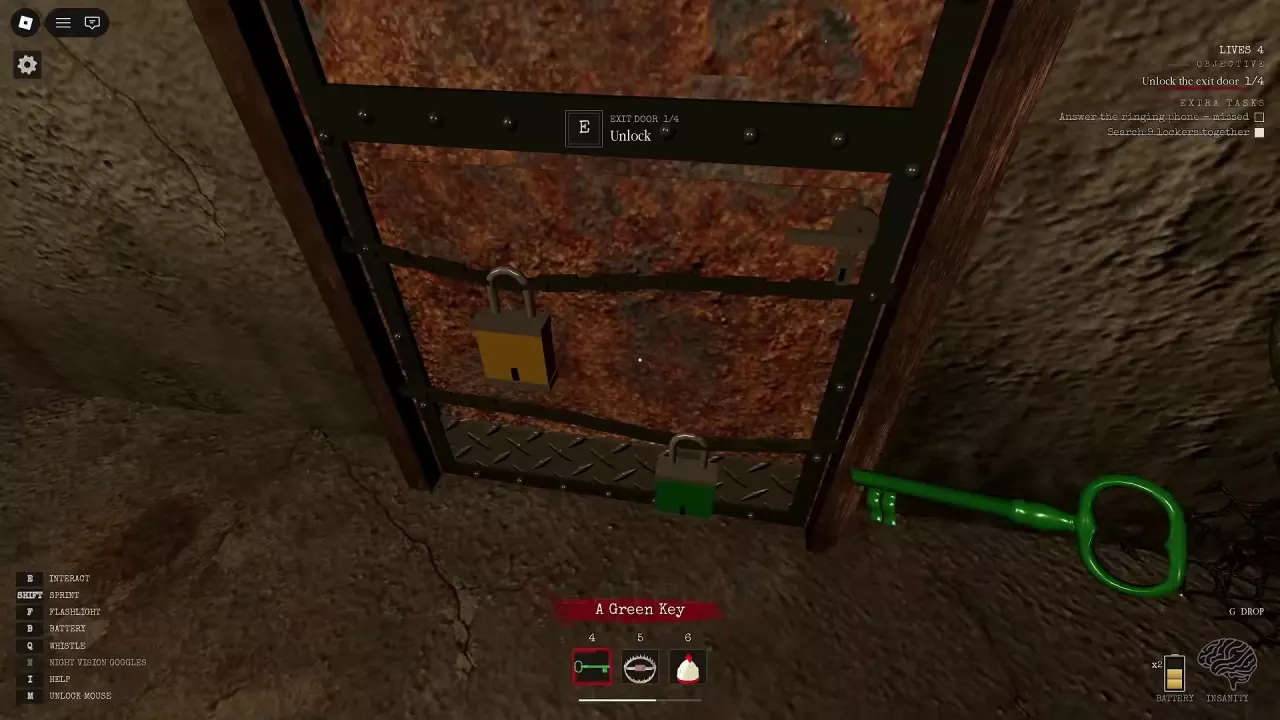
- Deliver keys promptly. You can carry only one key at a time. Return to use it on its matching basement lock before continuing to collect keys, keeping each search tied to a known return route.
Read the Current Escape Counters
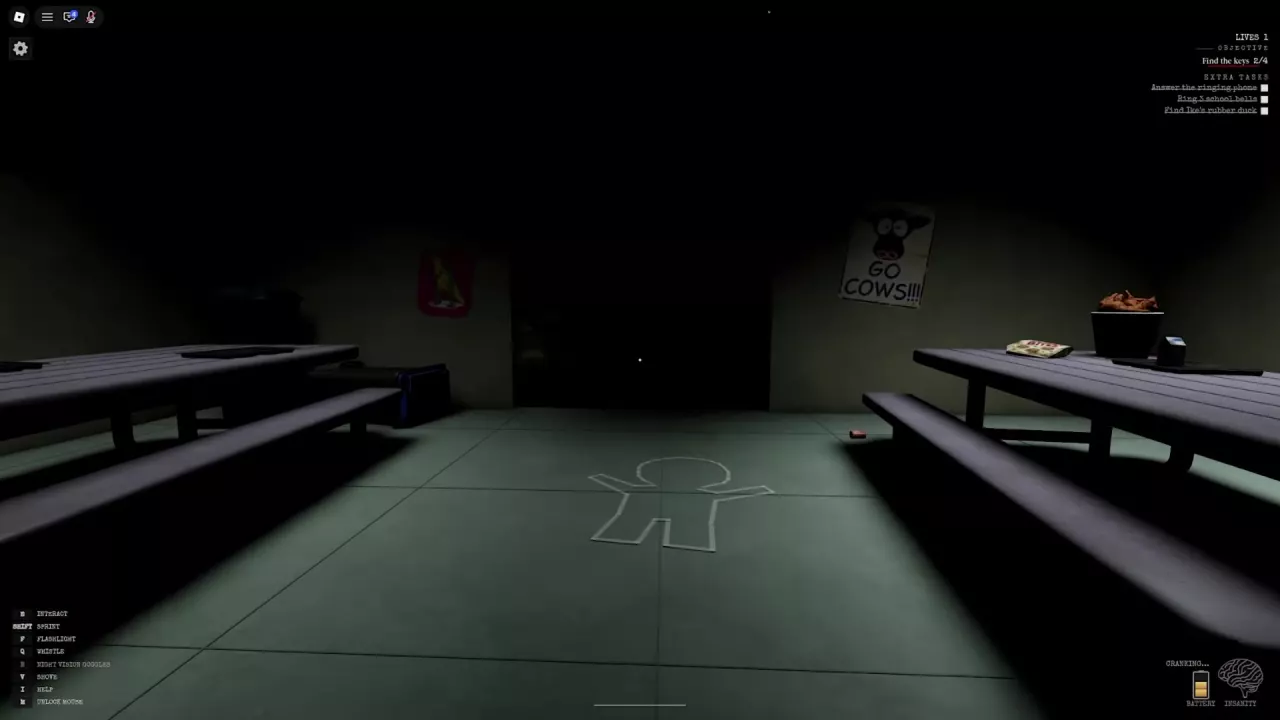
Part 1 requires you to find four keys and use them to unlock the basement exit. Finding a key and using it on a lock are separate actions, so read the active objective as you progress.
Later crank requirements can differ between rounds:
| Round example | Crank parts required | Completed exit-crank interactions required |
|---|---|---|
| Easy escape | 1 | 5 |
| Another Part 1 round | 2 | 7 |
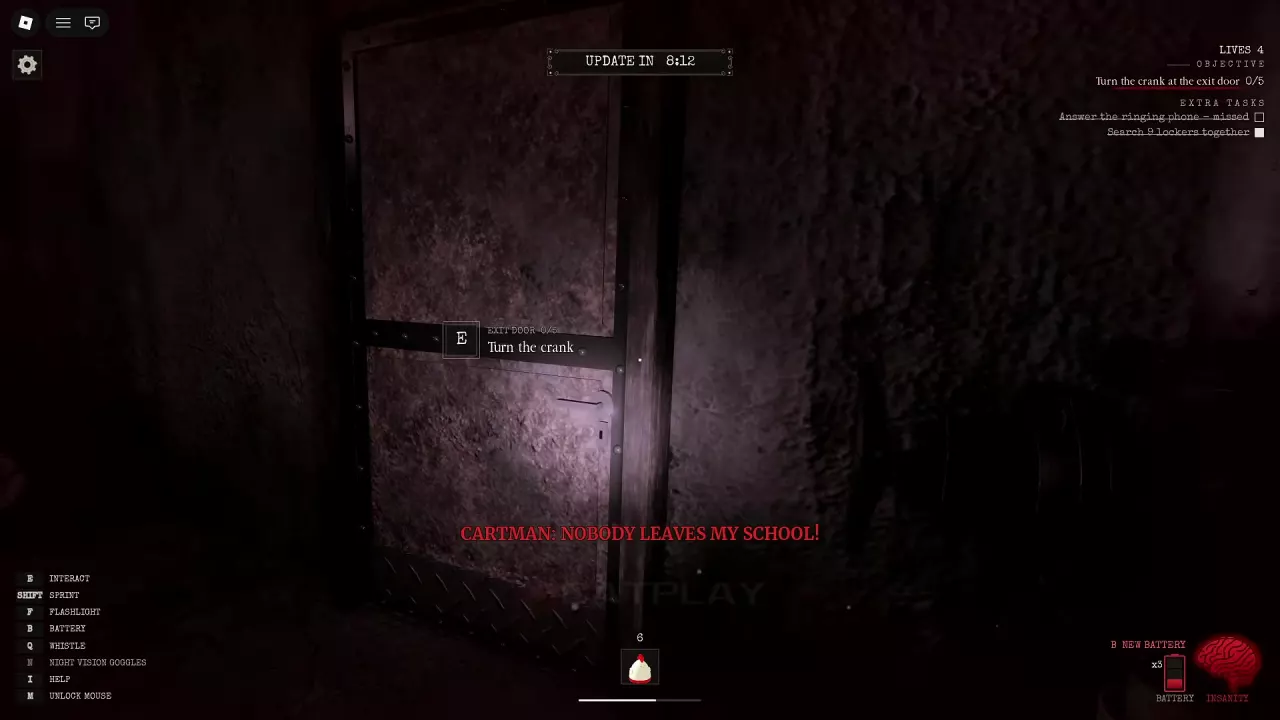
Use the denominator in your current objective counter to plan the remaining work. For example, 0/5 at the exit crank means five completed interactions remain. Do not use the difficulty’s lives or speed multiplier to calculate part counts, and do not assume every round follows the one-part, five-interaction example.
Follow the Part 1 walkthrough for the complete sequence from opening the basement passage to the final Escape interaction.
Select Difficulty Before Departure
Inside the bus, the host selects Part 1: South America Elementary and chooses the difficulty before the run begins. If you are joining someone else’s group, agree on the setting before the host makes that selection.
For boarding and group setup, follow how to start a solo or group run.
Related guides
 South Hell Part 1 Walkthrough: Basement, Keys and Exit CrankEscape South Hell Part 1: remove the basement boards, find and use four keys, recover dropped keys, collect Crank Parts, and open the exit.How to Start a Game in South Hell Solo or with a GroupStart South Hell alone or with up to six players at a Bus Stop. Learn how to board, choose a difficulty, and divide searches and key deliveries.
 South Hell Survival Guide: Hiding, Noise and Escaping CartmanSurvive Cartman in South Hell: manage noise, use locker hiding prompts, retreat to the basement, recover dropped keys, and understand lives and revival.
 How to Recharge Your Flashlight in South HellLearn how to recharge your flashlight in South Hell, find spare batteries, use the hand crank, and reach the basement Fuse Box during an outage.
 South Hell School Locations and the Basement Exit RouteFind South Hell school landmarks, follow Maintenance to the basement exit, and climb the rope to the upper area.