
Survival Rules at a Glance
| Situation | What to do |
|---|---|
| Moving near Cartman | Reduce running and microphone noise; avoid stepping on glass. |
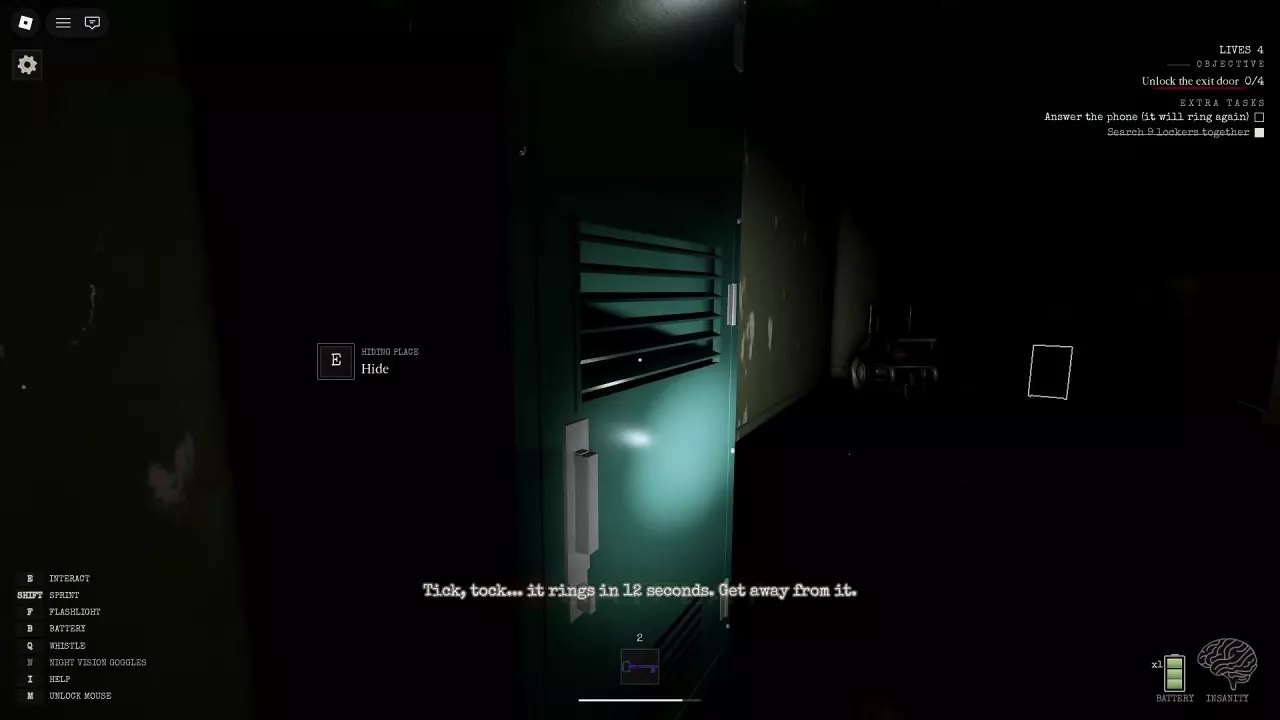
| A hiding locker is nearby | Use E Hide, then click the circles that appear while hiding. |
| You need shelter | Reach the basement or Safe Room; Cartman cannot enter either area. |
| You are spending time in darkness | Restore light or move into a lit area to deal with rising Insanity. |
| You need supplies | Use E Search at searchable lockers for a chance to find keys, Cash, or spare batteries. |
| Cartman catches you | Check your remaining lives. If you carried a key, recover it where you were caught. |
Control Noise and Listen Before Moving
Cartman can hear your microphone as well as your running. Keep unnecessary voice noise down when he is nearby, and avoid sprinting through the school without a destination. Sprinting with Shift can help you move away, but it also produces a loud sound cue. Stepping on glass makes a loud noise too, so choose a clear path when trying to stay quiet.
The VOICE bar displays microphone activity and can rise into red. Use it to notice when your microphone is picking up sound; red is not a reliable signal that Cartman has detected you.
When you hear danger nearby, pause in cover and listen through both sides of your headphones. Judge the direction before choosing your next corridor or hiding place. This helps you avoid running toward the sound while trying to escape it.
Hide in a Locker and Keep Following the Prompts
Look for HIDING PLACE and E Hide. A locker offering Search is offering a search interaction; use the prompt to identify where you can actually hide.
- Approach a hiding place and press E when Hide appears.
- Click the circles that appear during the hiding minigame. Keep responding as new circles appear.
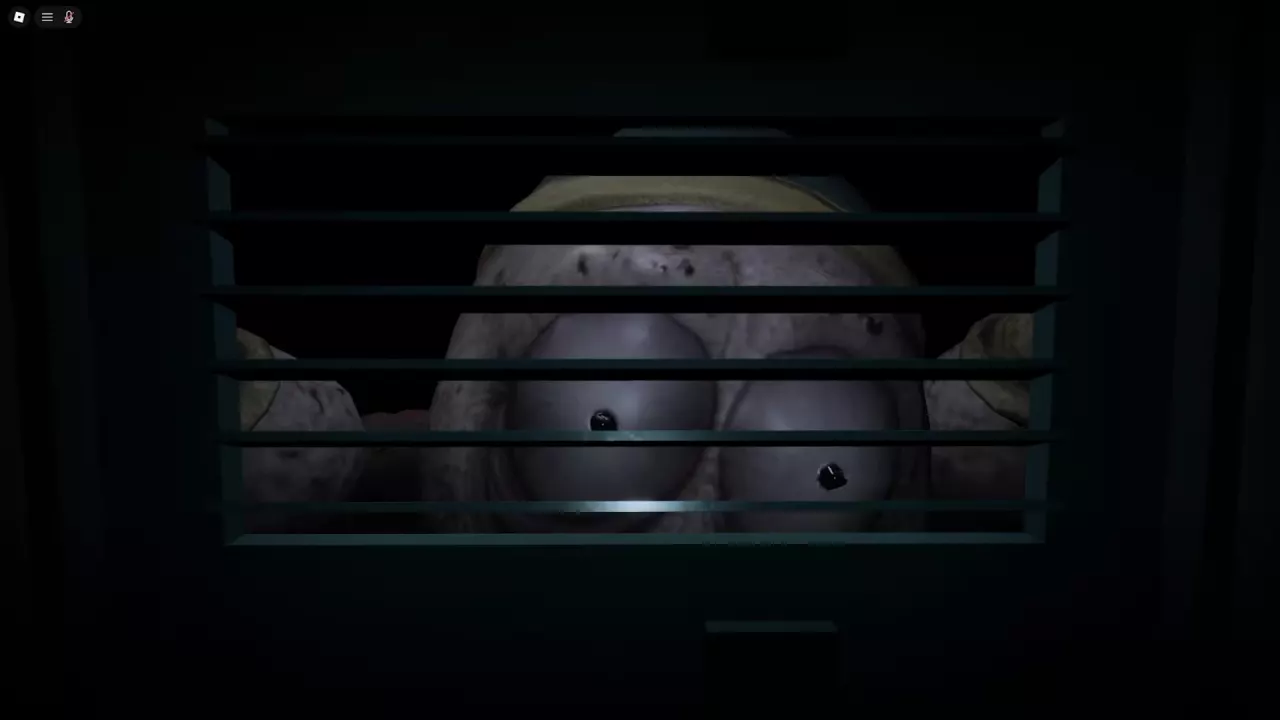
- Look through the door vents to observe the area outside.
- Wait for Cartman to move away before leaving and resuming your search.
Entering a locker does not immediately end a chase. Cartman can follow you to the locker and attack the hiding place, so keep following the prompts even after you get inside. Seeing him close to the vents is a reason to stay put and watch for his departure, rather than stepping straight back into the corridor.
Retreat to the Basement or Safe Room
Cartman cannot enter the basement or Safe Room. If you can reach either area, use it to shelter from him. A reachable safe area is a useful alternative to a locker because it blocks his entry without requiring the locker minigame.
To return to the basement from the school corridors:
- Find the doorway marked MAINTENANCE and enter.
- Cross the room.
- Follow the stairs down to the basement.
- Look for the white glow of the EXIT DOOR to recognize the exit area.
Learn this connection while exploring so you have a destination ready during a chase. For other landmarks and local connections, use the school locations guide.
What to Do After Being Caught
Being caught does not necessarily end the run. Check the remaining-lives indicator first: if you still have lives, you can continue. Your starting number of lives depends on the selected difficulty.
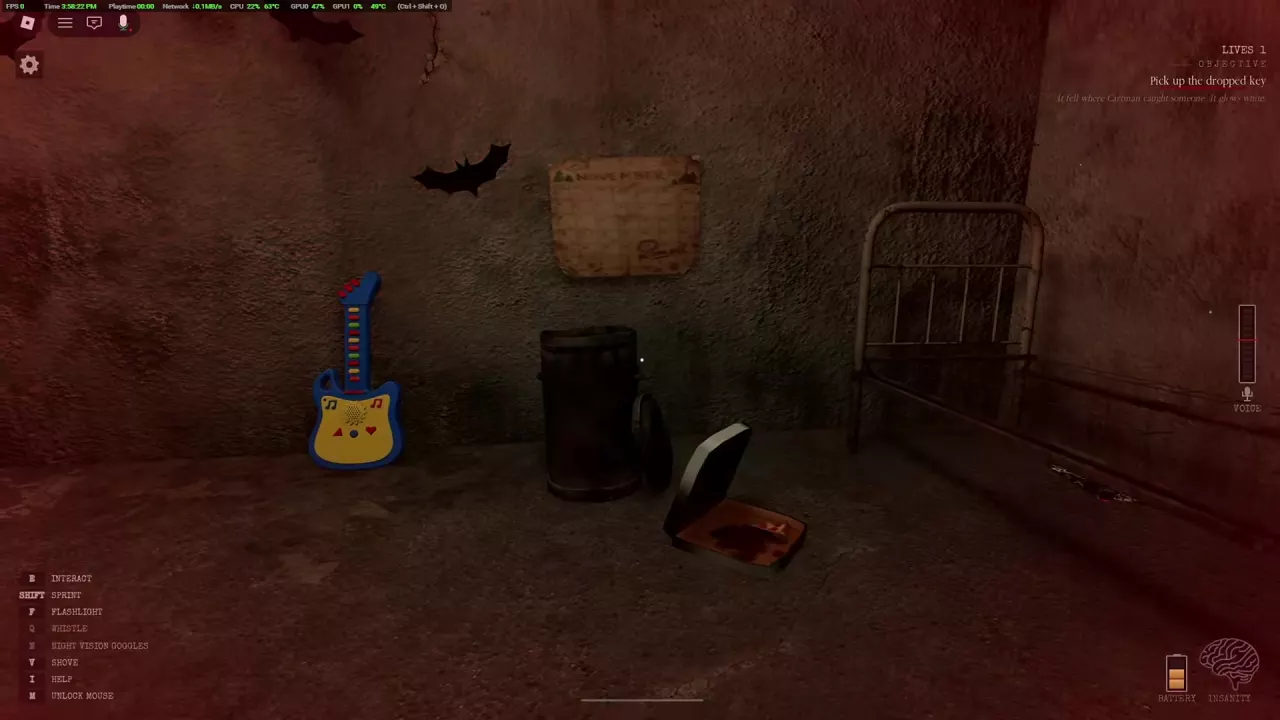
If you were carrying a key when Cartman caught you:
- Return to the place where you were caught once you can approach safely.
- Look for the dropped key’s white glow and pick it up.
- Carry it back to the basement exit and use it on the matching lock.
Recovering the key and unlocking the exit are separate actions. If you need the next objective after delivery, follow the Part 1 escape walkthrough.
Death can put you into spectating. When Revive is available, you can choose paid revival to return to the current run. Review the price shown before confirming the purchase.
Keep Light and an Escape Option Ready
Darkness increases Insanity, so maintain usable light or move into a lit area. Press F to use the flashlight. While searching, approach a locker, aim at its door, and press E when Search appears; lockers can provide spare batteries alongside keys and Cash.
With a spare battery available, press B at the replacement prompt to restore flashlight power. If the interface instead displays HOLD B CRANK, hold B to recharge. The flashlight and Insanity guide explains these power options and the basement objective during a blackout.
A distraction can give you an opportunity to reach cover: thrown Fried Chicken attracts Cartman, and a placed Alarm Clock draws him toward it once it rings. Use that opportunity to leave or hide. Follow the distraction guide for deployment controls and timing.
For learning the retreat route and hiding routine, Easy is the most forgiving starting choice. Compare difficulty settings before raising the challenge, since lives and flashlight duration depend on the setting.
Related guides
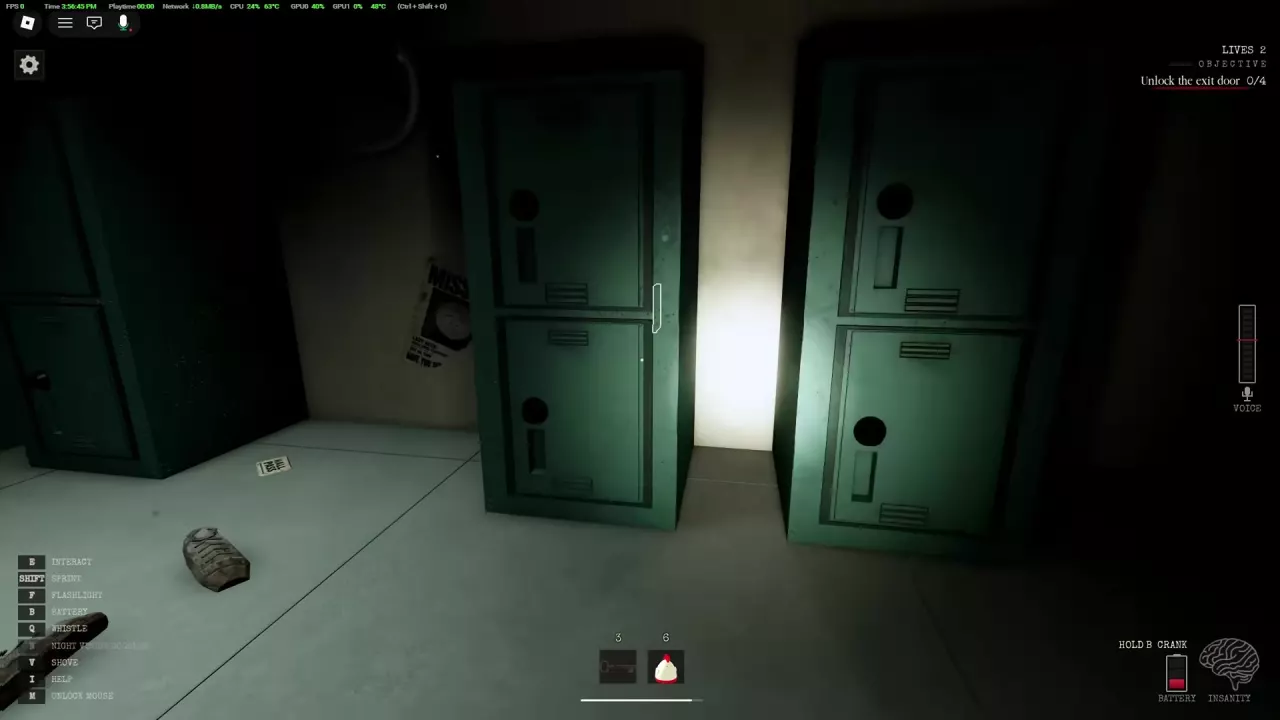 How to Recharge Your Flashlight in South HellLearn how to recharge your flashlight in South Hell, find spare batteries, use the hand crank, and reach the basement Fuse Box during an outage.
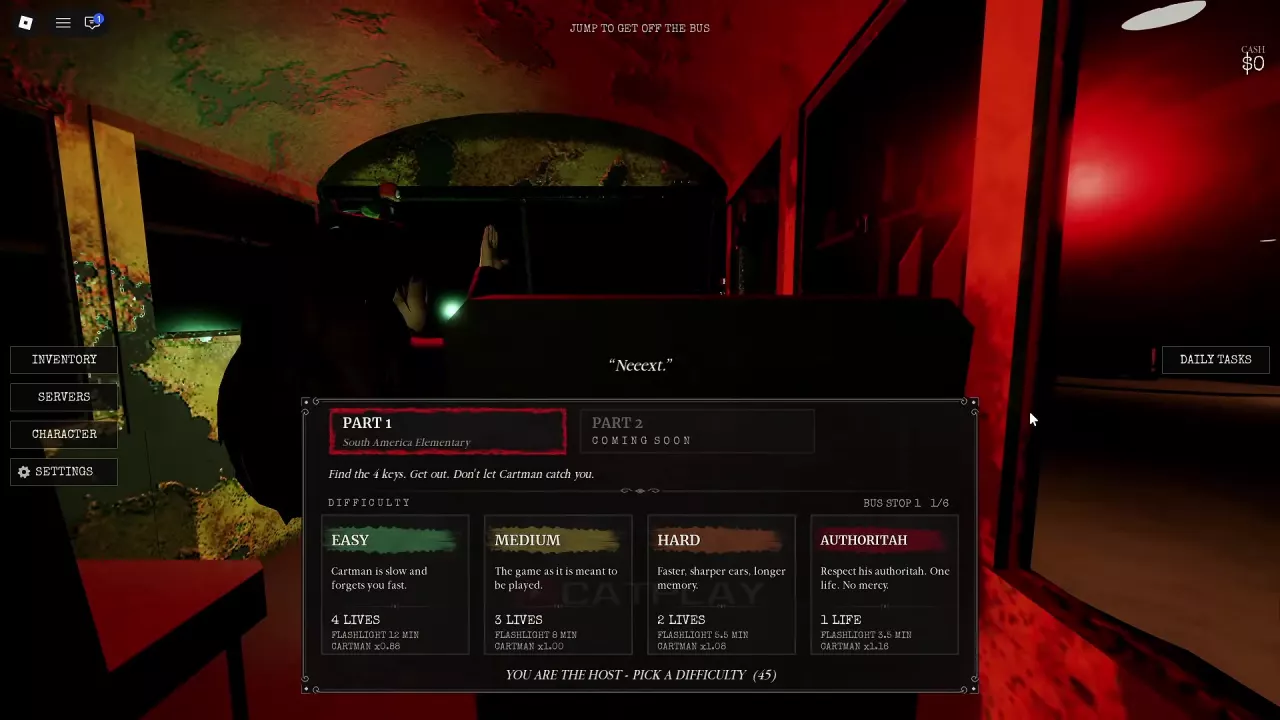 South Hell Difficulty Guide: Easy to AuthoritahCompare all four South Hell difficulties by lives, flashlight duration, and Cartman speed. Choose your setting and prepare for Authoritah’s one-life challenge.How to Distract Cartman in South Hell: Chicken, Clocks and TrapsDistract Cartman in South Hell with Fried Chicken, an Alarm Clock, Trap or Boombox. Learn how to deploy each option and move to safety.
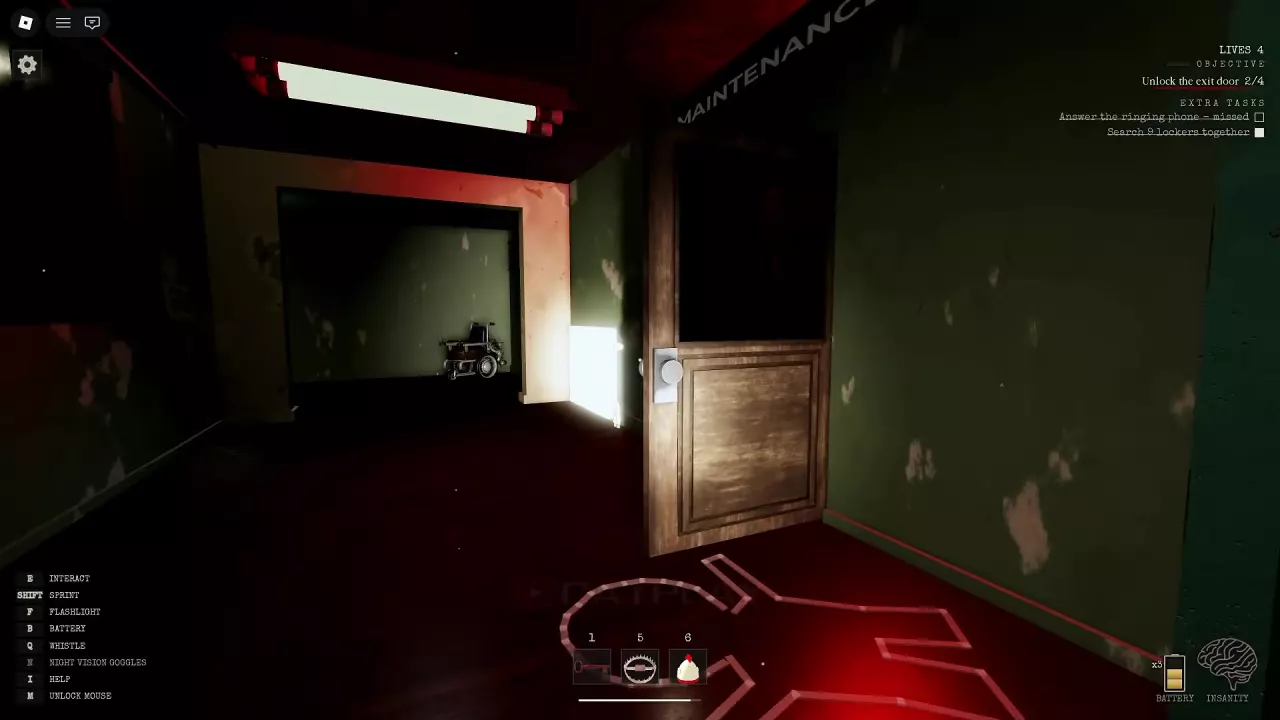 South Hell School Locations and the Basement Exit RouteFind South Hell school landmarks, follow Maintenance to the basement exit, and climb the rope to the upper area.South Hell Enemies and Encounters: Cartman, Ike and A.W.E.S.O.M-OIdentify South Hell enemies and encounters, avoid Cartman's chase, keep your flashlight off Ike, and recognize A.W.E.S.O.M-O.
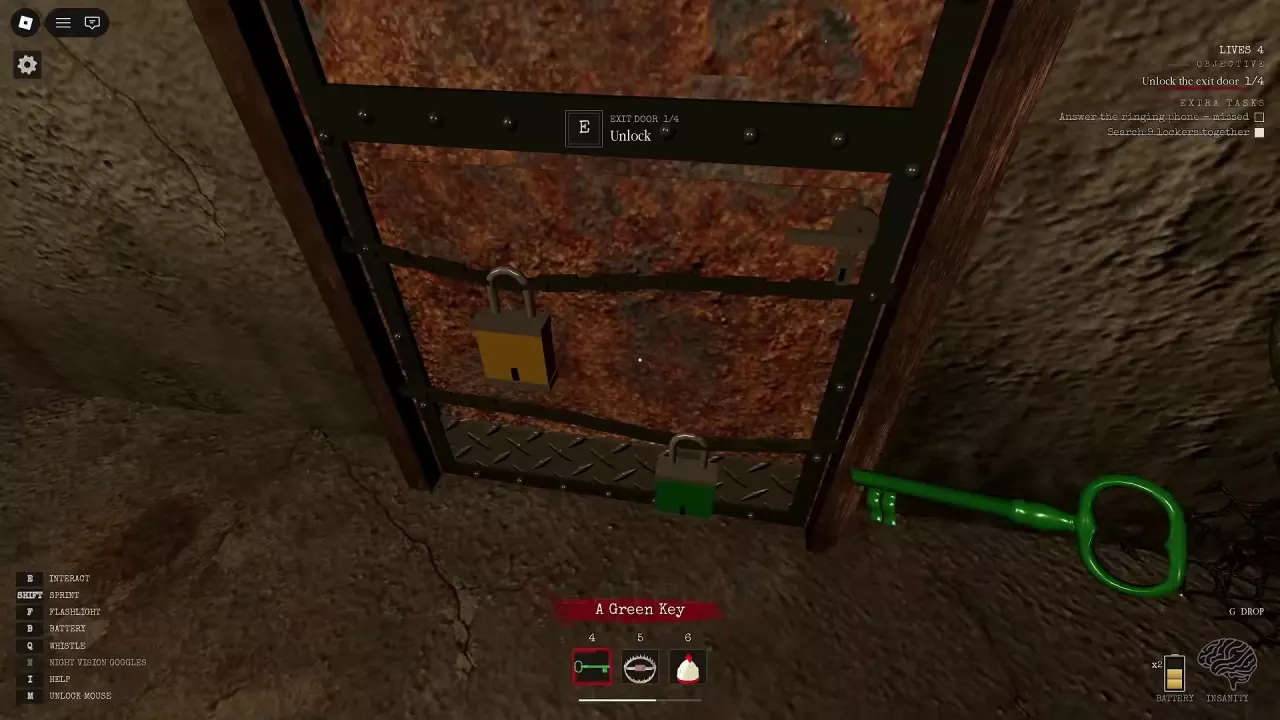 South Hell Part 1 Walkthrough: Basement, Keys and Exit CrankEscape South Hell Part 1: remove the basement boards, find and use four keys, recover dropped keys, collect Crank Parts, and open the exit.South Hell Controls: PC Keys, Graphics and Lobby ExitFind South Hell PC controls, drop a selected key, lower graphics, switch spectator targets, and return to the lobby after escaping.